If your Zendesk instance has been around for more than a year, there's a good chance your triggers have gotten out of hand.
It usually starts innocently enough. A new support process requires a trigger. A temporary workflow becomes permanent. Someone clones an existing trigger to make a quick change. Before long, your account has hundreds of triggers with names like "New Trigger 4", "Copy of SLA Email", and "Test - Don't Delete."
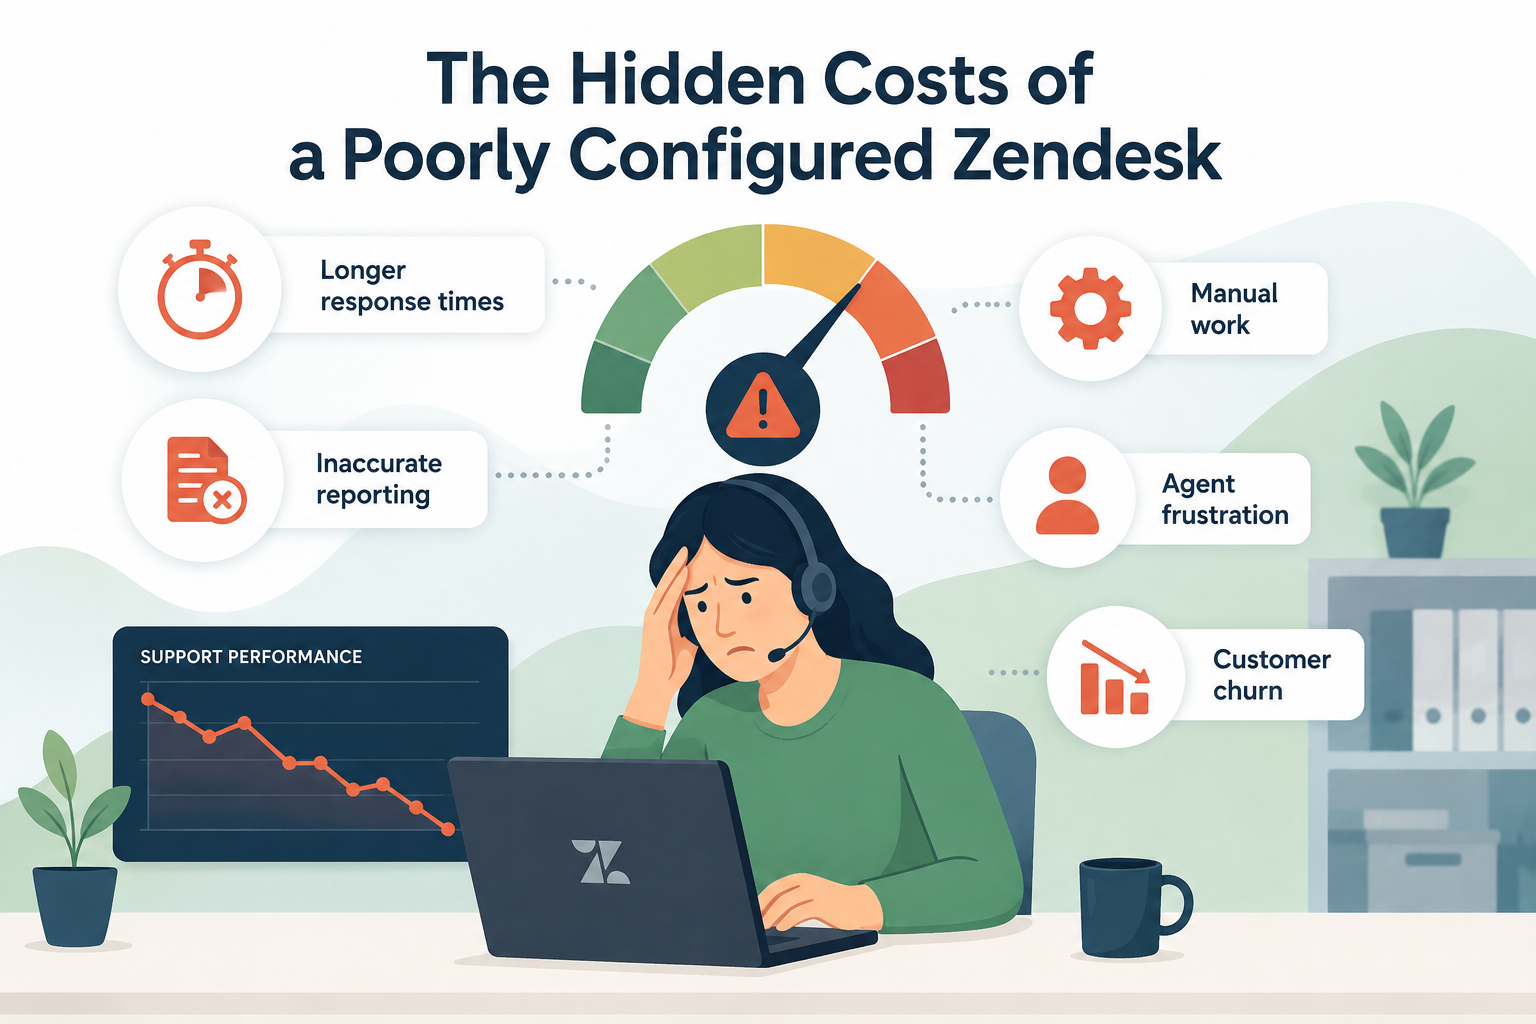
The result? Workflows becomes difficult to manage, troubleshooting takes longer, and making even small changes feels risky.
The good news is that cleaning up your triggers doesn't have to be overwhelming. With a structured audit process and a few best practices, you can simplify your Zendesk instance, improve reliability, and make life much easier for your support team.
Let's walk through how to do it.
Why Trigger Cleanup Matters
Triggers are one of Zendesk's most powerful automation tools, but they're also one of the easiest places for technical debt to accumulate.
Over time, organizations often experience:
- Duplicate triggers performing the same action
- Outdated workflows that are no longer used
- Conflicting automations
- Poorly named triggers that nobody understands
- Disabled triggers that have been sitting untouched for years
Even if everything appears to be working, cluttered triggers make it much harder to answer questions like:
- Why did this customer receive that email?
- Why wasn't the SLA applied?
- Which trigger changed the ticket priority?
- Is it safe to modify this automation?
A clean trigger environment makes your Zendesk instance easier to maintain, troubleshoot, and scale.
Step 1: Export and Inventory Your Triggers
Before deleting anything, document what currently exists.
Create a spreadsheet that includes:
- Trigger name
- Status (Active or Inactive)
- Category or purpose
- Conditions
- Actions
- Last modified date (if available)
- Notes
Simply seeing everything in one place often reveals obvious duplicates and outdated automations.
You may discover several triggers that all perform nearly identical tasks with only minor differences.
Tip: Utilize the Zendesk API to pull all of your triggers to avoid the manual labor!
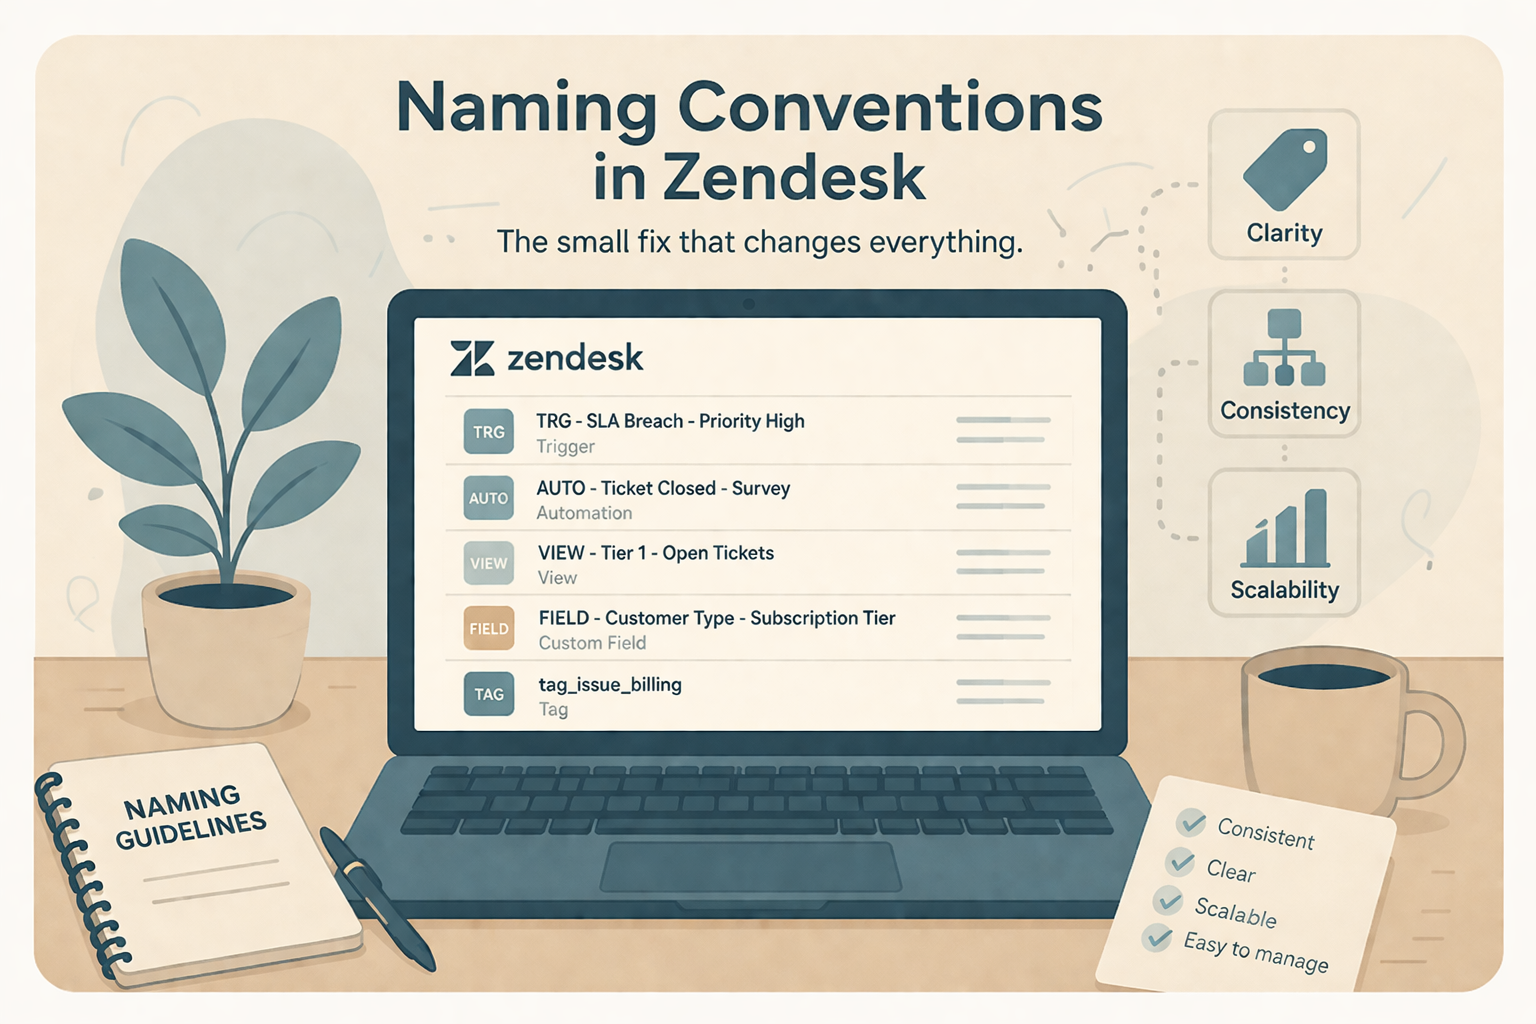
Step 2: Establish a Naming Convention
One of the biggest improvements you can make is adopting consistent trigger names.
Good naming conventions allow administrators to quickly understand what a trigger does without opening it.
A Simple Formula
Category – Purpose – Action
Examples:
- Email - Customer - Welcome Message
- SLA - Enterprise - Apply Policy
- Assignment - Billing - Route Tickets
- Notification - Manager - Escalation Alert
- Automation - CSAT - Survey Reminder
Another effective approach is grouping by business function:
- Routing - Sales
- Routing - Support
- Routing - Technical
- Notifications - Internal
- Notifications - Customer
- SLA - Priority Customers
- Integrations - Salesforce
- Integrations - Jira
The important thing is consistency.
If another administrator can't understand the trigger from its name, rename it.
Step 3: Group Related Triggers
As your Zendesk instance grows, organizing triggers by purpose becomes increasingly valuable.
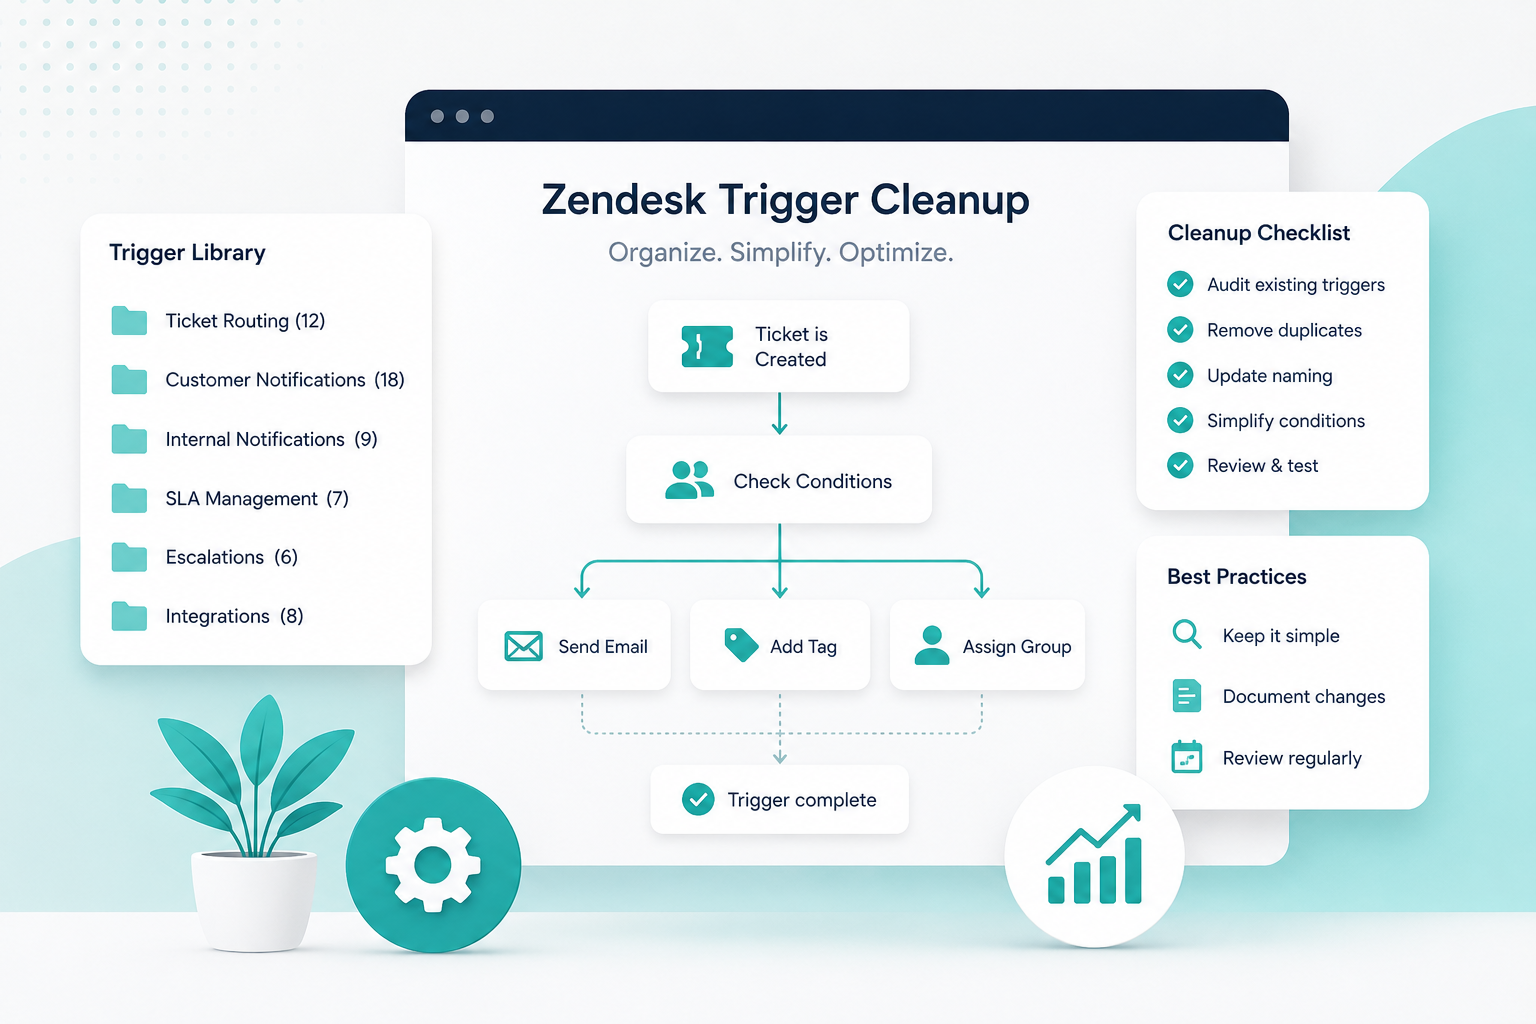
Some common categories include:
Ticket Routing
Automatically assigning tickets to groups or agents.
Customer Notifications
Emails sent to requesters.
Internal Notifications
Alerts for managers, account owners, or leadership.
SLA Management
Applying or updating service level policies.
Escalations
Priority changes, management alerts, or escalation workflows.
Integrations
Sending updates to external systems like Salesforce, Jira, Slack, or HubSpot.
Grouping makes audits dramatically easier.
Step 4: Audit Every Trigger
Now comes the real cleanup.
For each trigger, ask:
Does it still serve a business purpose?
Processes evolve.
If the workflow no longer exists, the trigger probably shouldn't either.
Is it duplicated elsewhere?
Multiple triggers often perform nearly identical actions.
If two triggers do the same thing, consider consolidating them into one.
Is it overly complex?
Triggers with dozens of conditions become difficult to understand and maintain.
Sometimes breaking one giant trigger into two simpler triggers creates a cleaner, more reliable workflow.
Is it disabled?
Many Zendesk accounts contain years of disabled triggers.
If a trigger has been disabled for months and nobody knows why it exists, it's usually safe to archive your documentation and remove it.
Is it firing when expected?
Review recent tickets to verify the trigger still behaves correctly.
Business rules change over time, and a trigger that worked perfectly two years ago may now produce unintended results.
Common Trigger Mistakes
During audits, we frequently encounter the same issues.
Generic Names
If every trigger begins with "Notification," finding the right one becomes difficult.
Be descriptive.
Overlapping Conditions
Multiple triggers can fire on the same ticket update.
This can result in:
- Multiple customer emails
- Repeated internal notifications
- Priority changes being overwritten
- Confusing ticket histories
Review trigger order and conditions carefully.
Missing Update Conditions
A common mistake is forgetting to include conditions that prevent a trigger from firing repeatedly.
For example:
Instead of triggering every ticket update...
Trigger only when:
- Status changes
- Priority changes
- Ticket is created
- Tags are added
This prevents notification loops and unnecessary automation.
Using Too Many Tags
Tags are powerful, but excessive tag usage can make trigger logic difficult to follow.
If every trigger depends on five or six tags, future administrators may struggle to understand how tickets move through your workflows.
Keep tag strategies intentional and well documented.
Forgotten Test Triggers
Nearly every mature Zendesk instance contains test automations that were never removed.
Examples include:
- Test Notification
- QA Trigger
- Temporary Routing
- Sandbox Copy
These should either be deleted or clearly documented if still needed.
Trigger Best Practices
Once you've cleaned things up, keeping them organized is much easier.
Here are a few habits worth adopting.
Document Every New Trigger
Record:
- Why it exists
- Who requested it
- Date created
- Expected outcome
- Dependencies
Future administrators will thank you.
Review Triggers Quarterly
Don't wait until there are 300 triggers.
A quarterly review keeps technical debt manageable.
Questions to ask include:
- Is this still needed?
- Has the workflow changed?
- Can two triggers become one?
- Is the naming still accurate?
Keep Logic Simple
Simple automations are easier to troubleshoot than highly complex ones.
Whenever possible:
- Use fewer conditions
- Avoid unnecessary exceptions
- Split unrelated workflows into separate triggers
Test Before Publishing
Whenever editing an existing trigger:
- Test in a sandbox when possible
- Validate with multiple ticket scenarios
- Confirm notifications behave as expected
- Watch for unintended interactions with other triggers
Establish Ownership
Someone should be responsible for automation governance.
Whether it's a Zendesk Administrator, Operations Manager, or external consultant, assigning ownership prevents uncontrolled growth.
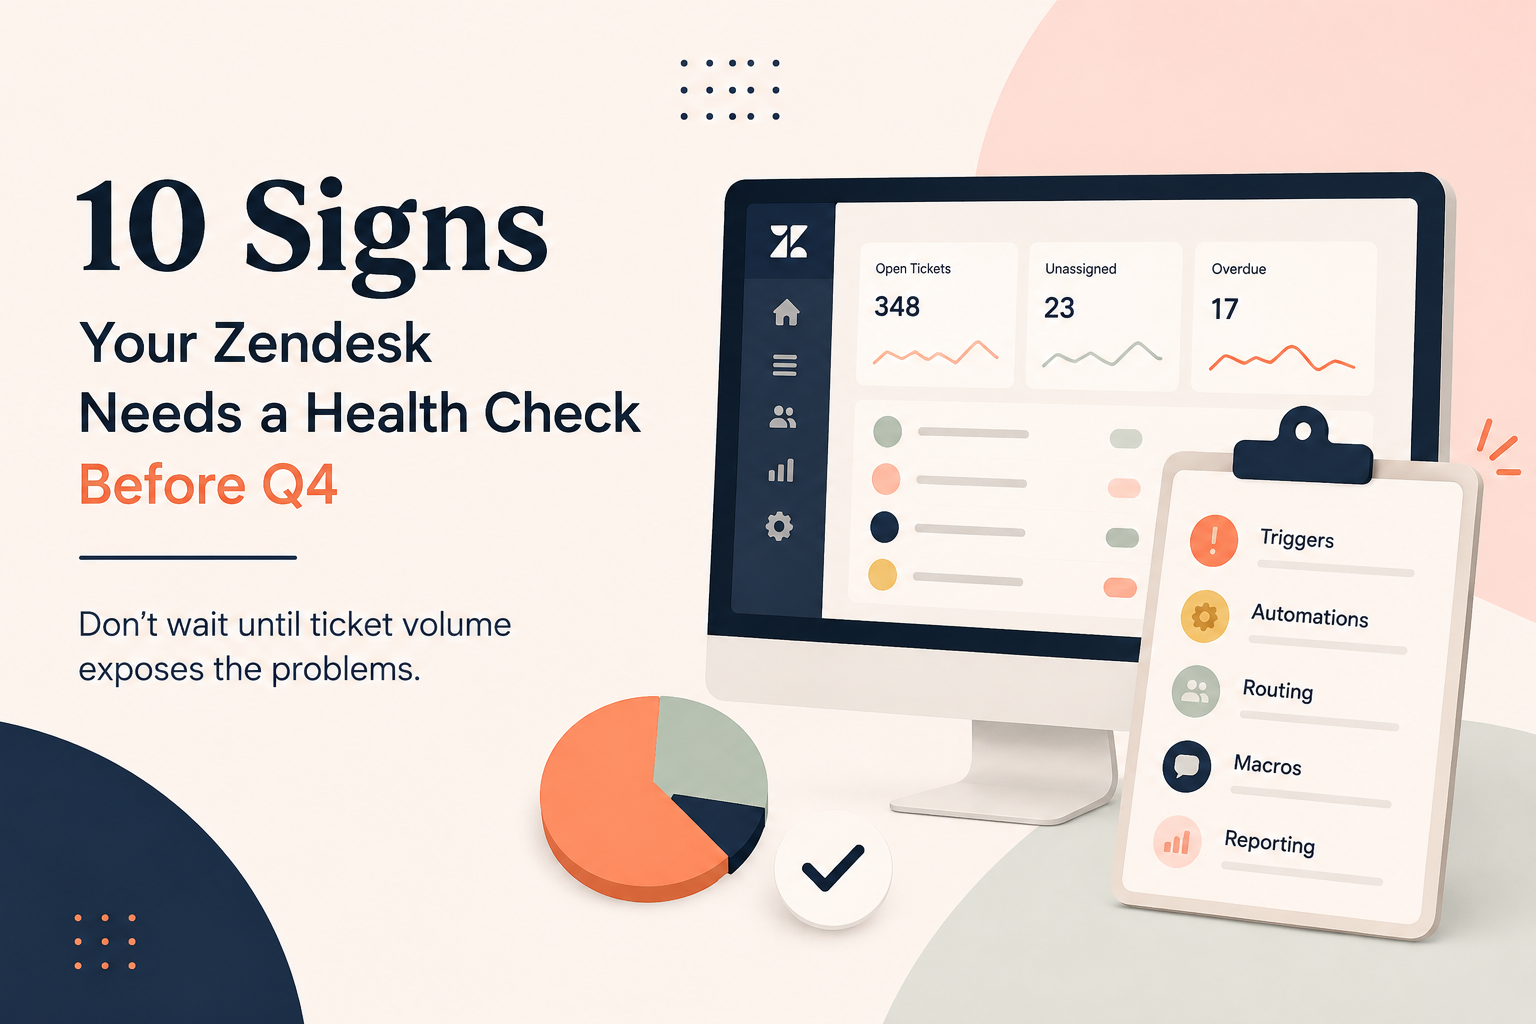
Signs Your Zendesk Instance Needs a Cleanup
Not sure whether it's time?
You may benefit from a trigger audit if:
- You have more than 100 active triggers.
- No one knows which trigger sends certain emails.
- Multiple administrators create automations independently.
- Trigger names are inconsistent.
- You're afraid to edit existing workflows because something else might break.
- Troubleshooting automation takes longer than it should.
If any of these sound familiar, it's probably time for a cleanup.
Final Thoughts
Triggers are the engine behind many of your customer support workflows. But like any system, they require regular maintenance.
A thoughtful cleanup helps reduce complexity, eliminate duplicate logic, and make your Zendesk environment easier to manage for everyone on your team.
By adopting consistent naming conventions, performing regular audits, documenting changes, and following automation best practices, you'll build a Zendesk instance that's easier to troubleshoot today and ready to scale tomorrow.
Whether you're managing 20 triggers or 500, investing time in organizing your automations pays dividends in efficiency, reliability, and confidence every time a ticket is updated.