When organizations implement Zendesk, the first priorities are usually straightforward: create ticket forms, add automations, build triggers, and organize views. Before long, tickets are flowing and agents are responding.
On the surface, everything appears to be working.
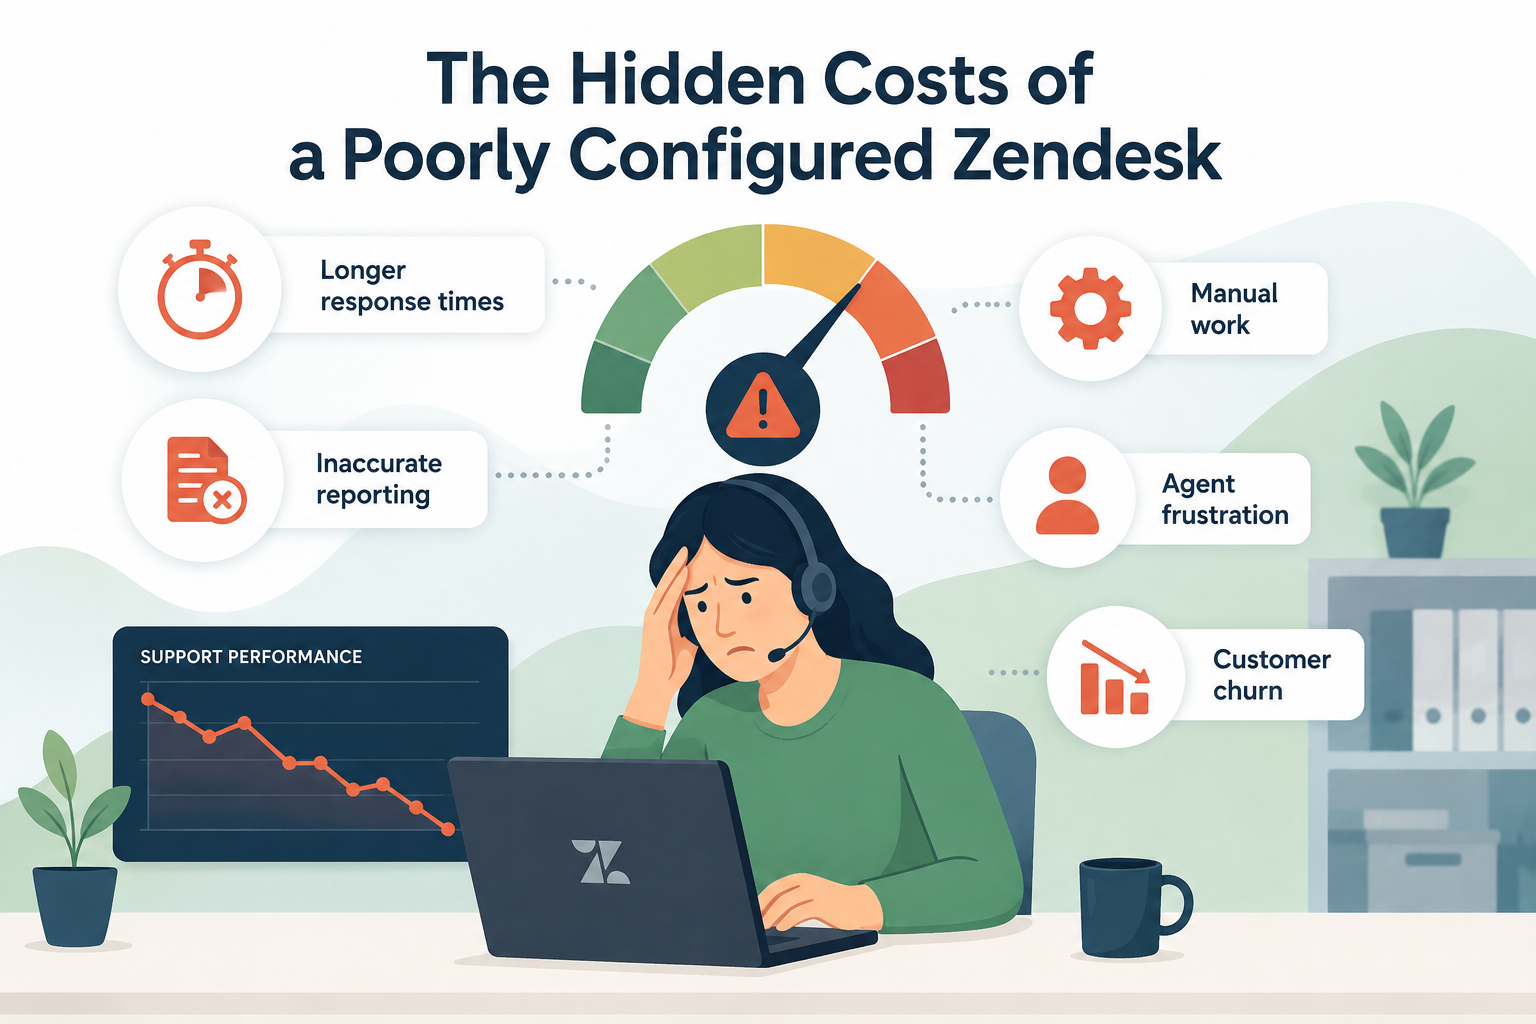
But after a few months, common problems start to emerge:
- Agents aren't sure who owns a ticket.
- Customers receive inconsistent updates.
- Tickets bounce between teams.
- SLAs are missed.
- Reporting doesn't accurately reflect what's happening.
The issue often isn't Zendesk itself, it's that no one stopped to define the complete lifecycle of a ticket before building the workflows.
What Is Ticket Lifecycle Mapping?
Ticket lifecycle mapping is the process of documenting every stage a support request travels through from the moment it's created until it's fully resolved.
Instead of asking:
"What triggers do we need?"
You start by asking:
"How should a ticket move through our business?"
Once that process is clear, configuring Zendesk becomes much simpler, and far more effective.
Why Most Zendesk Implementations Skip This Step
Many teams build Zendesk as they go.
A department requests a new trigger.
Someone creates another automation.
A new custom field gets added.
An SLA changes.
Months later, the support environment has evolved organically instead of intentionally.
The result is a system that's difficult to maintain because no one understands how all the pieces work together6.
Without a defined lifecycle, every workflow becomes a one-off solution.
What a Healthy Ticket Lifecycle Looks Like
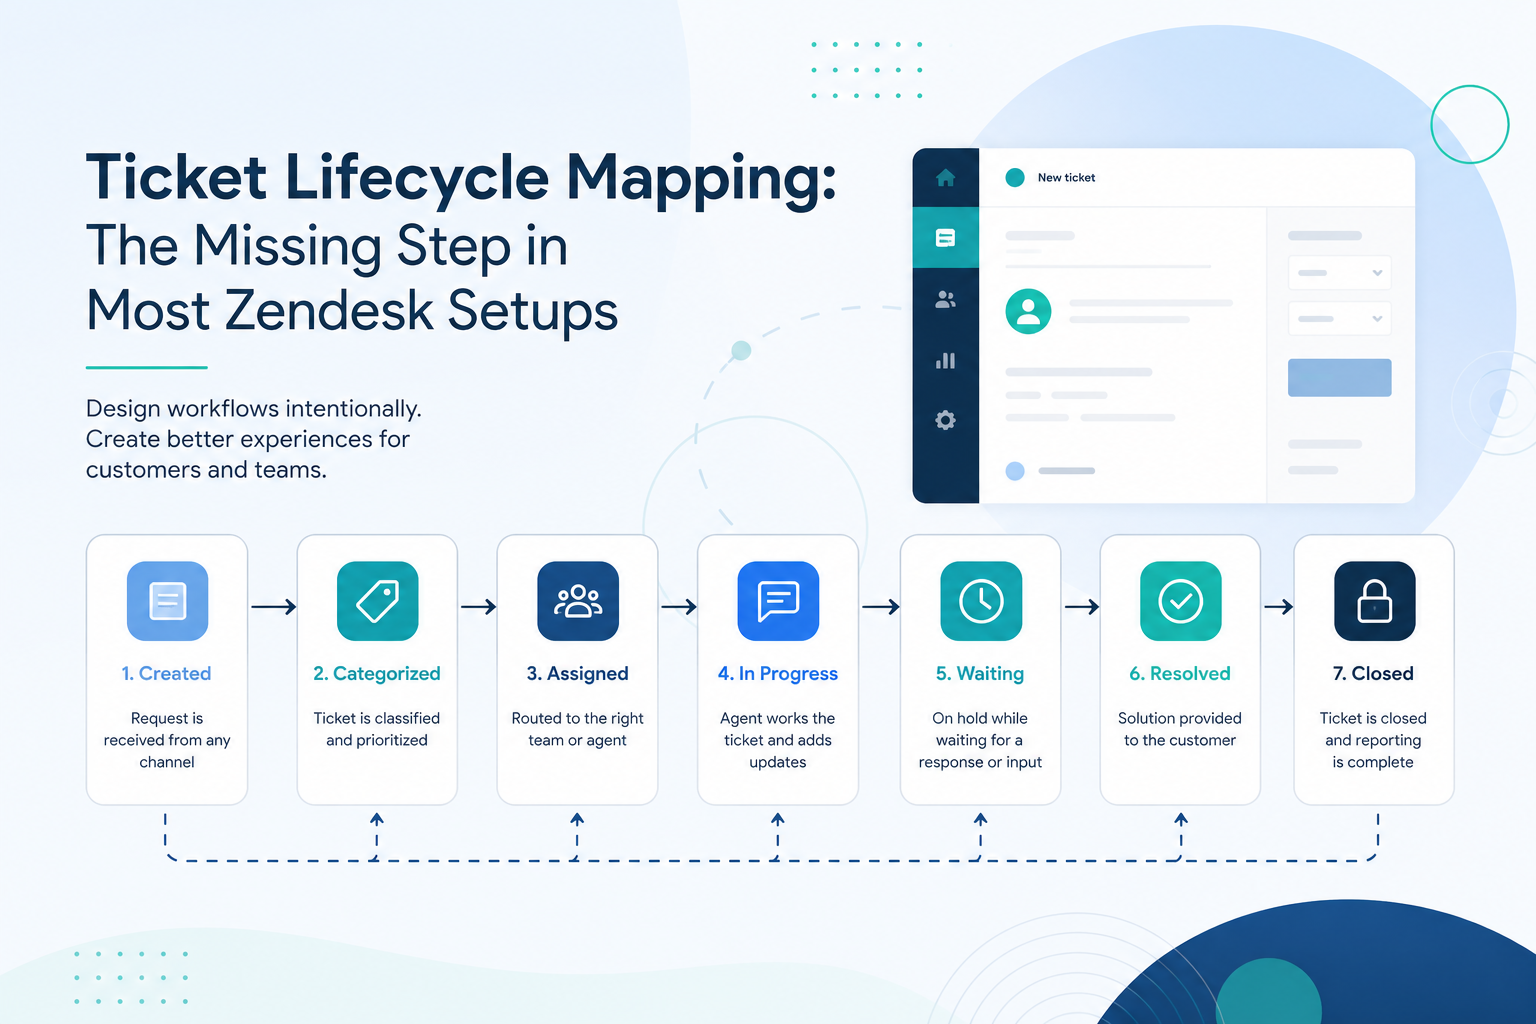
While every organization is different, most support requests follow a similar journey.
- Ticket Created
The customer submits a request through email, web form, chat, API, or another channel. - Ticket Categorized
The request is classified using forms, fields, tags, or AI-powered intent detection. - Ownership Assigned
The ticket is routed to the correct group or agent based on predefined business rules. - Work Begins
Agents investigate the issue, collaborate internally, or request additional information. - Waiting State (if necessary)
The ticket may pause while waiting on the customer, a third-party vendor, engineering, or another internal team. - Resolution Provided
The customer receives the solution or requested information. - Ticket Closed
The ticket is solved, satisfaction surveys are sent if desired, and reporting is finalized.
That seems simple, but each stage should have clearly defined rules.
For example:
- Who owns the ticket?
- What automations should run?
- What notifications should be sent?
- Which SLA applies?
- Which reports should capture this stage?
Answering these questions upfront prevents confusion later.
Questions Every Team Should Ask
Before building new workflows, gather stakeholders from support, operations, and any departments involved in ticket handling.
Then work through questions like:
- How does a ticket enter Zendesk?
- What information is required before work can begin?
- When should ownership change?
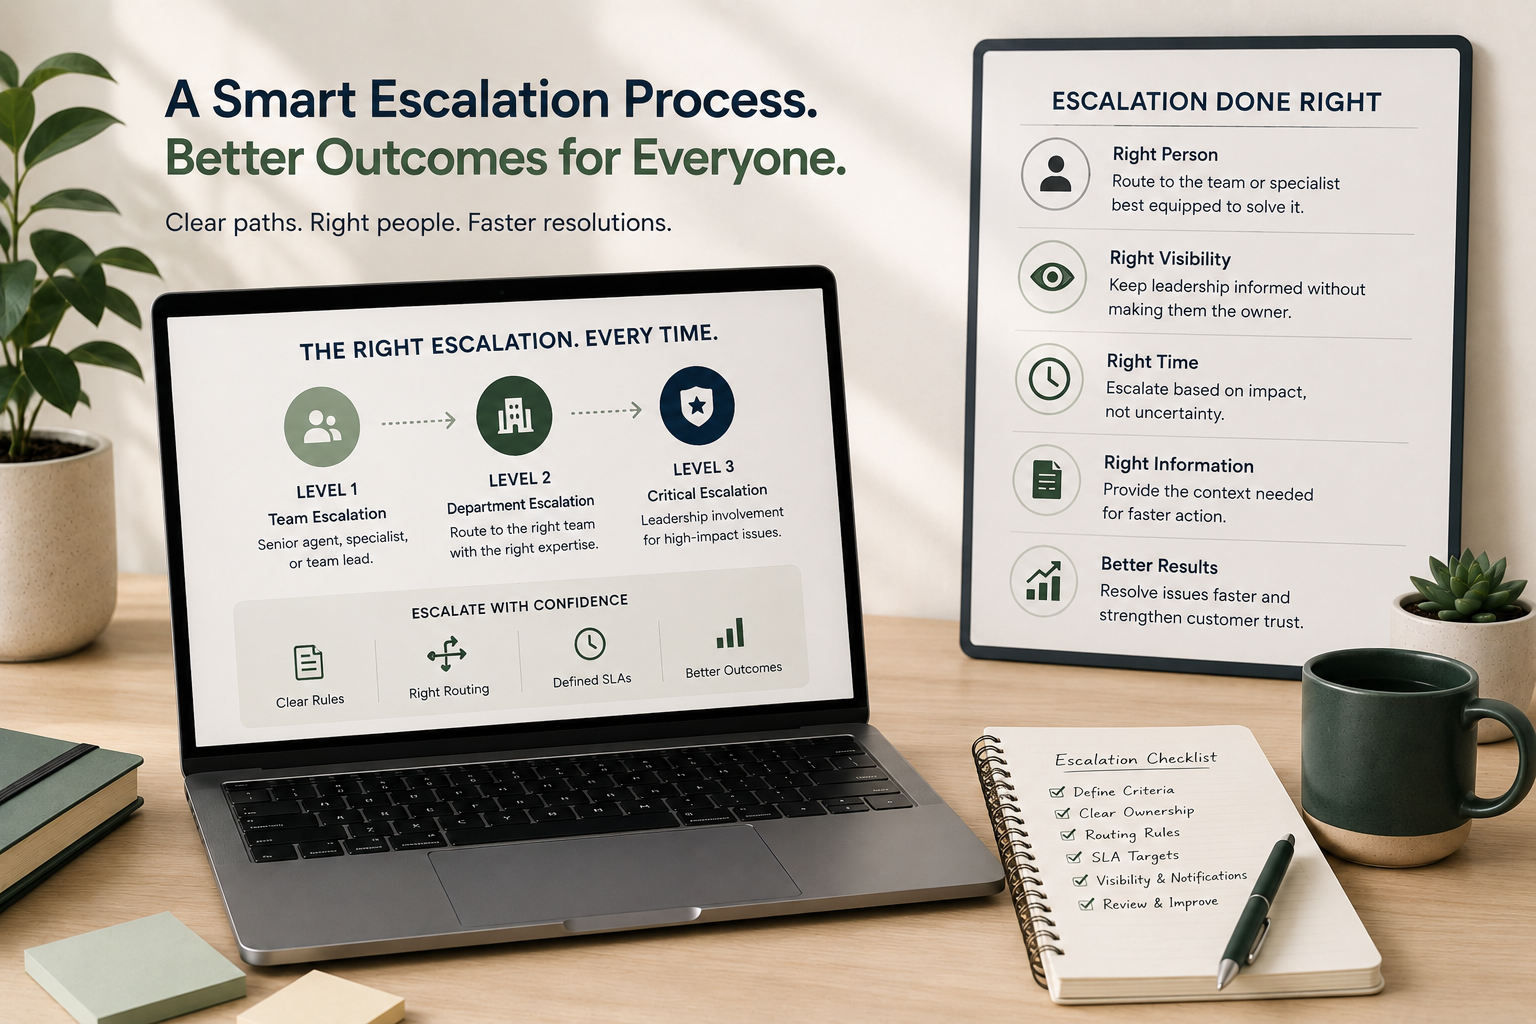
- What situations require escalation?
- What happens when a customer doesn't respond?
- Which statuses actually represent work being done?
- When should a ticket be considered truly resolved?
These conversations often reveal inconsistencies that have existed for years.
Visualize Before You Configure
One of the simplest improvements you can make is drawing the lifecycle before touching Zendesk.
Even a basic flowchart can uncover gaps such as:
- Multiple teams owning the same step
- Missing customer communications
- Unnecessary manual assignments
- Statuses that aren't being used consistently
- Circular workflows where tickets repeatedly bounce between groups
Once the process is documented visually, configuring triggers, automations, SLAs, and routing becomes much more intentional.
Signs Your Ticket Lifecycle Needs Attention
If any of these sound familiar, it may be time to revisit your workflow design:
- Tickets frequently change assignees.
- Agents manually move tickets between groups.
- Customers ask for updates because they aren't receiving proactive communication.
- Reporting doesn't match what managers observe day-to-day.
- New automations create unexpected side effects.
- Team members explain processes differently depending on who you ask.
These aren't just operational frustrations, they're indicators that your ticket lifecycle hasn't been clearly defined.
Start Small
You don't need to redesign your entire Zendesk instance overnight.
Start by mapping one high-volume ticket type from submission to closure.
Document every decision point, every ownership change, and every customer communication.
Then compare your documented process to what's actually happening in Zendesk.
The gaps often become obvious, and fixing them is far easier when you understand the intended journey.
Final Thoughts
Zendesk is exceptionally flexible, but flexibility without a plan can quickly become complexity.
Before adding another trigger, automation, or custom field, take time to map the lifecycle your tickets should follow.
A clearly defined ticket journey creates cleaner workflows, more accurate reporting, better customer experiences, and a support environment that's easier to scale as your business grows.
Sometimes the biggest improvement isn't adding something new, it's designing the process first.